Labels
Popular Posts
-
For this assignment, the task was to recreate a magazine (any) with de stijl design for its cover and...
-
Computer Graphics Final (Album Cover) The album cover i did was for a Korean pop girl group 2NE1. I did an album cover for each i...
-
This assignment was to created a simple animation (GIF) with photoshop. Taking these two ani...
-
For this assignment, my task was to create a logo and a brand for myself that represented me as a Graphic Designer. I did...
-
This assignment required me to go around town to find companies or brands with bad or misleading logos then choose 1 to make a redesign...
-
This assignment was to make a simple bouncing ball animation on Adobe Photoshop. 1st, i started with a simple ball s...
-
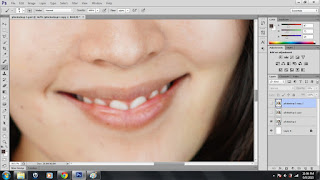
I used photoshop to edit the images. I used used the image edit to change the brightness...
-
For tis assignment, my task was to create a poster or flyer that describes the many courses that the...


Wow...!!
ReplyDeleteImpressive Tutorial..!!
http://www.photoeditinglab.com